As discussed in the previous article How To Install Python 3.12 On Windows, the overall process of installing Python on macOS is not significantly different from installing it on Windows.
However, in this tutorial, i will guide you to install Python 3.12.2 on a Mac quickly and easily.
You need the following 2 prerequisites to start using Python:
- Python 3.12.2
- Integrated Development Environment (IDE) atau text editor
Let’s get started!
Download Python 3.12.2
Go to python.org/downloads and download the latest version of Python by click the Download Python 3.12.2 button.
Install Python 3.12.2
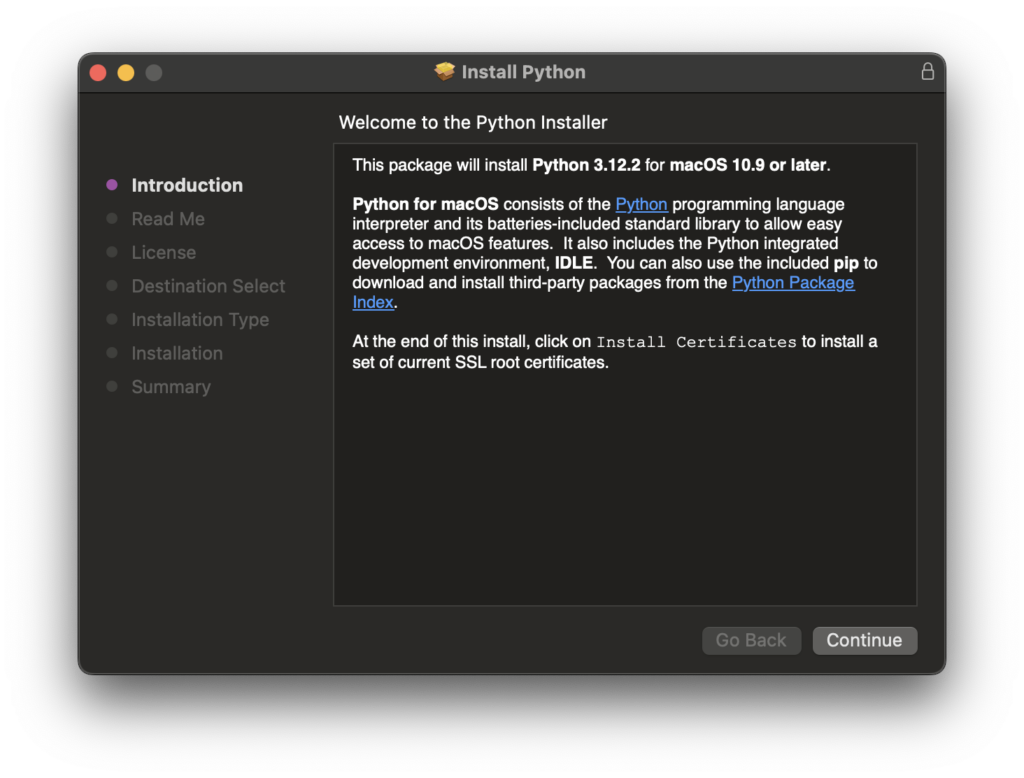
- Double-click the Python file you downloaded earlier.
- You just need to click Continue until the installation process is complete.
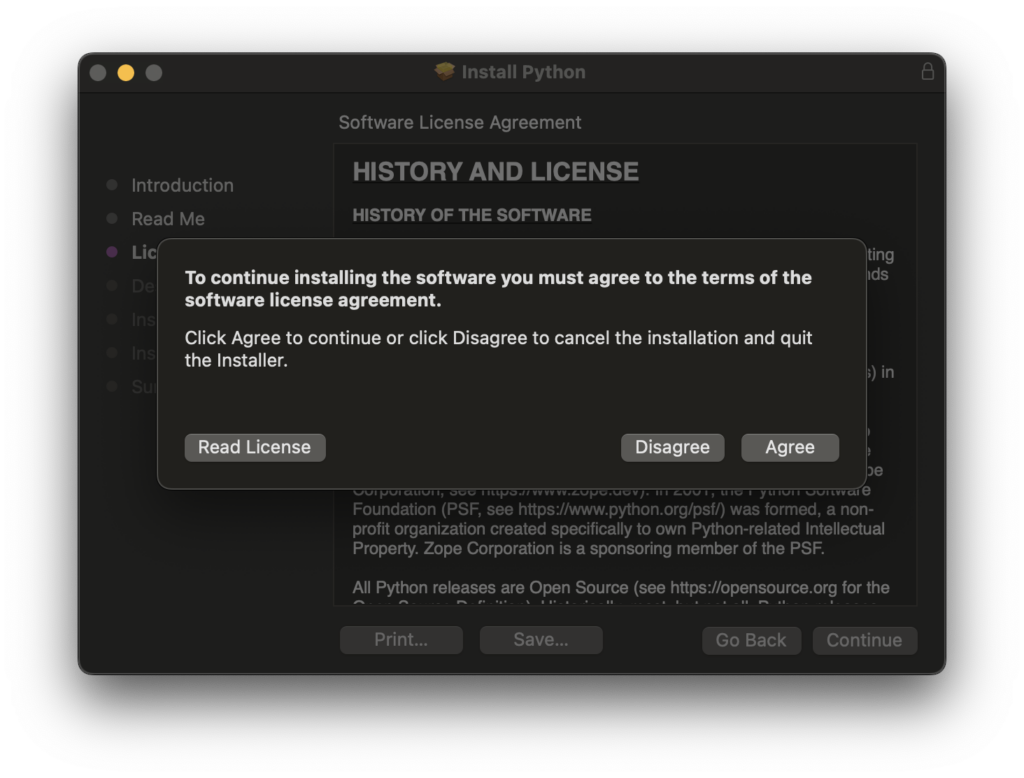
- If you see the license agreement, simply click Agree
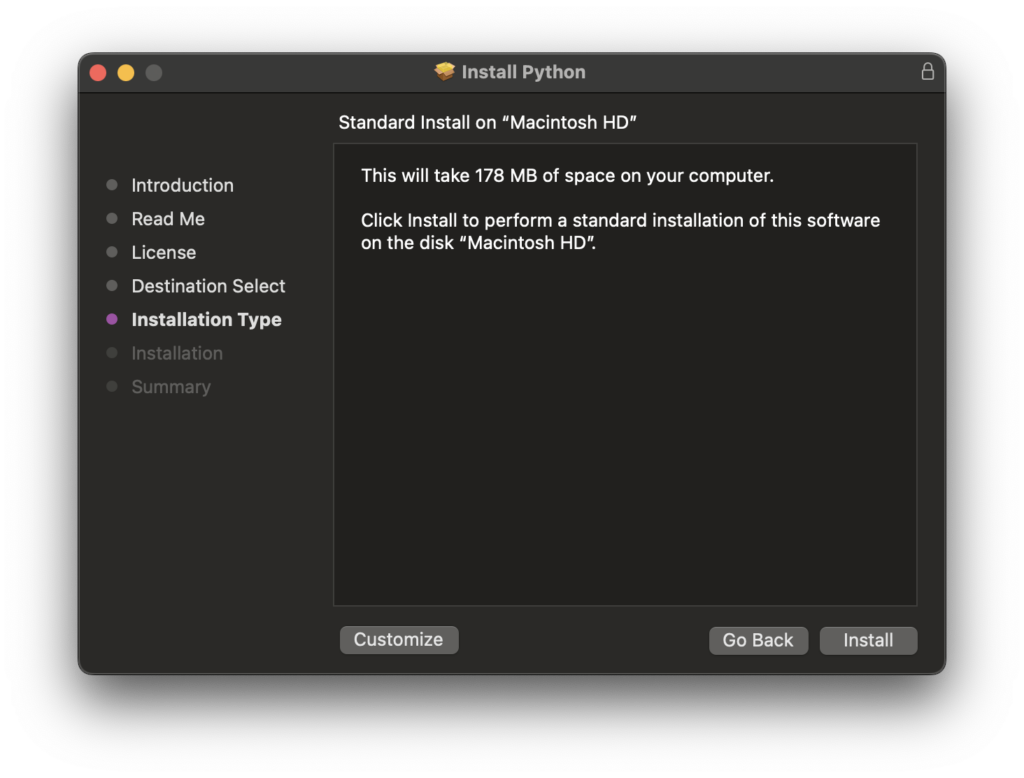
- Click Install
- Wait for the installation process to complete, then click Close
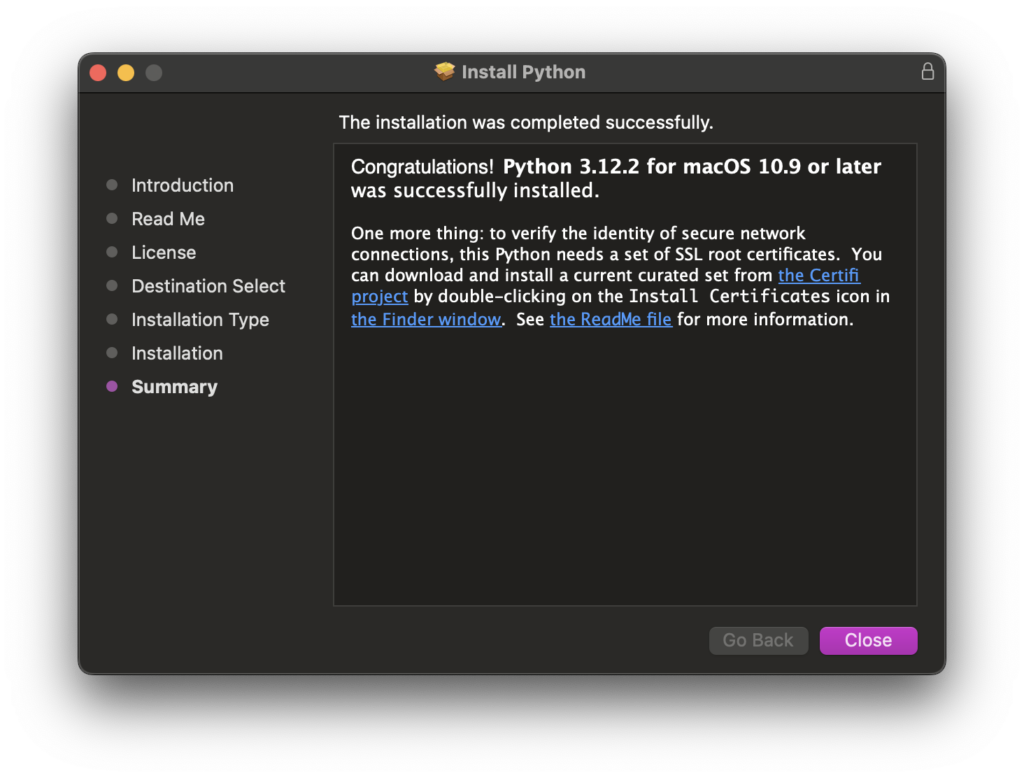
- Open Finder and find the “Install Certificates.command” file in the
Applications/Python 3.12folder. Double-click this file, and you will see the certificate installation process in your Mac’s Terminal application.
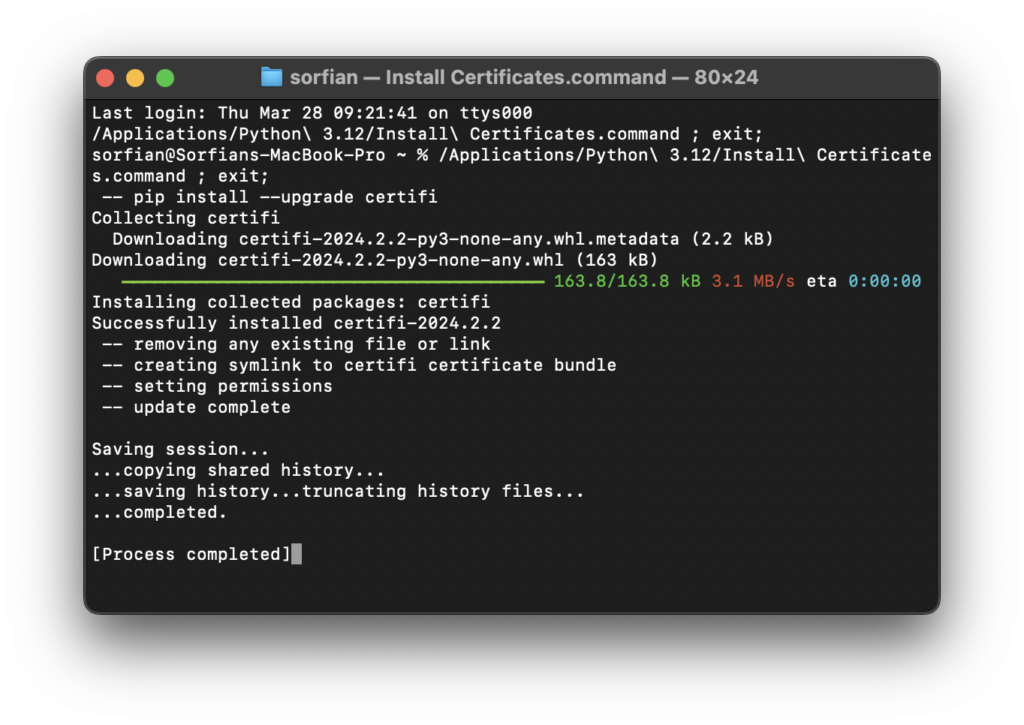
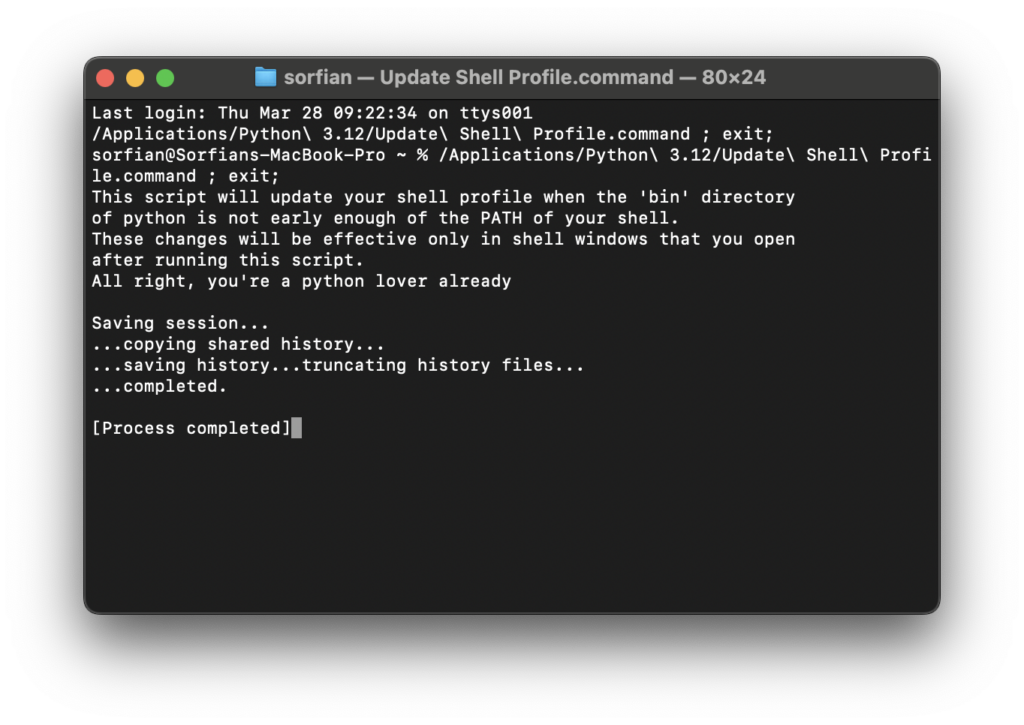
- Find the “Update Shell Profile.command” file in the
Applications/Python 3.12folder. Double-click this file, and you will see the process of updating the shell profile you use on your Mac. This process will update the Python path so that you can use it from anywhere on your Mac.
- By default, macOS currently uses Python version 2. Therefore, we will replace this version with the latest version we installed earlier, which is version 3.12.2.
- Open Terminal. If you are using the zsh shell in your terminal, open the .zshrc file by typing
nano ~/.zshrcand add the following syntax at the end (Skip this step when using bash shell on your terminal).
alias python='python3'
alias pip='pip3'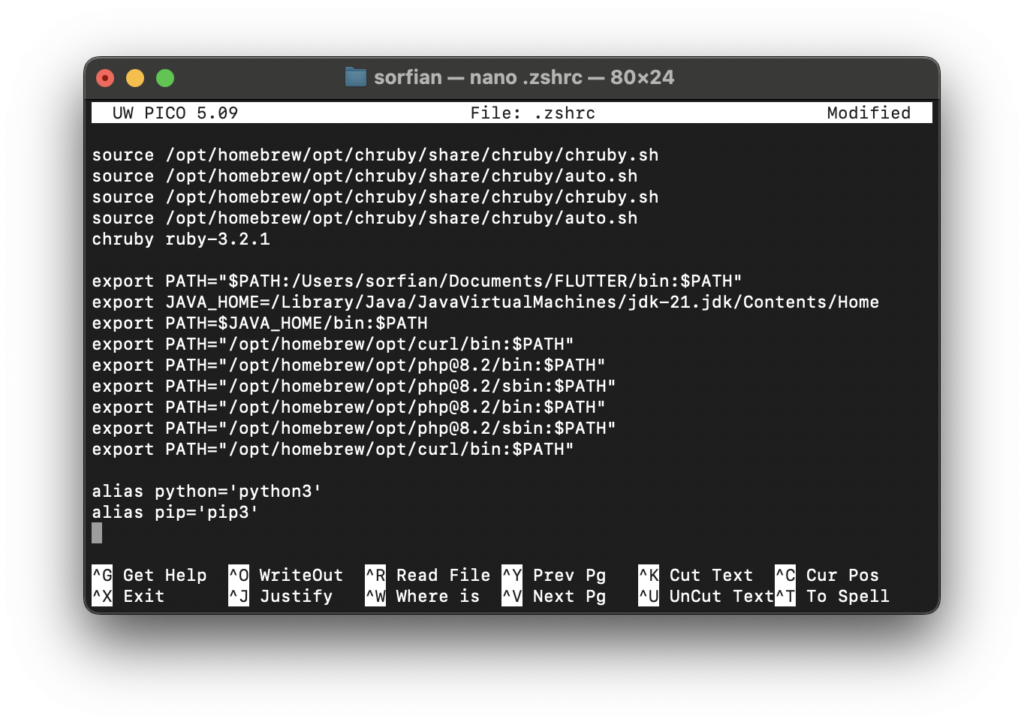
- Press Ctrl+x to close the .zshrc file you have updated, then press “y” to save it.
- After exit from .zshrc file, type
source .zshrc. - If you are using the bash shell on your Mac’s terminal, you can skip the above step (zsh setup) and open the bash file using
nano ~/.bash_profile, then add the following syntax at the end:
alias python='python3'
alias pip='pip3'- Press Ctrl+x to close the .bash_profile file you have updated, then press “y” to save it.
- After exit from .bash_profile file, type
source .bash_profileon your terminal. - Now you can use Python 3.12.2 from anywhere on your Mac, whether using the zsh or bash shell.
- To verify this step you can check in the terminal by typing
python --version, and you should see the outputPython version 3.12.2.

- Type
pip --versionand you will see the pip version 24.0 as shown in the image.

Integrated Development Environment (IDE) atau Text Editor
An Integrated Development Environment (IDE) is where we write our Python code to be executed. It’s commonly referred to as a text editor.
There are many text editor applications available nowadays. However, in this tutorial, we will try using one of the most popular text editors used, which are PyCharm and Visual Studio Code.
Let’s start with installing PyCharm and then Visual Studio Code.
Install PyCharm
- Download PyCharm from jetbrains.com/pycharm/download
- Go to the community edition section and click Download.
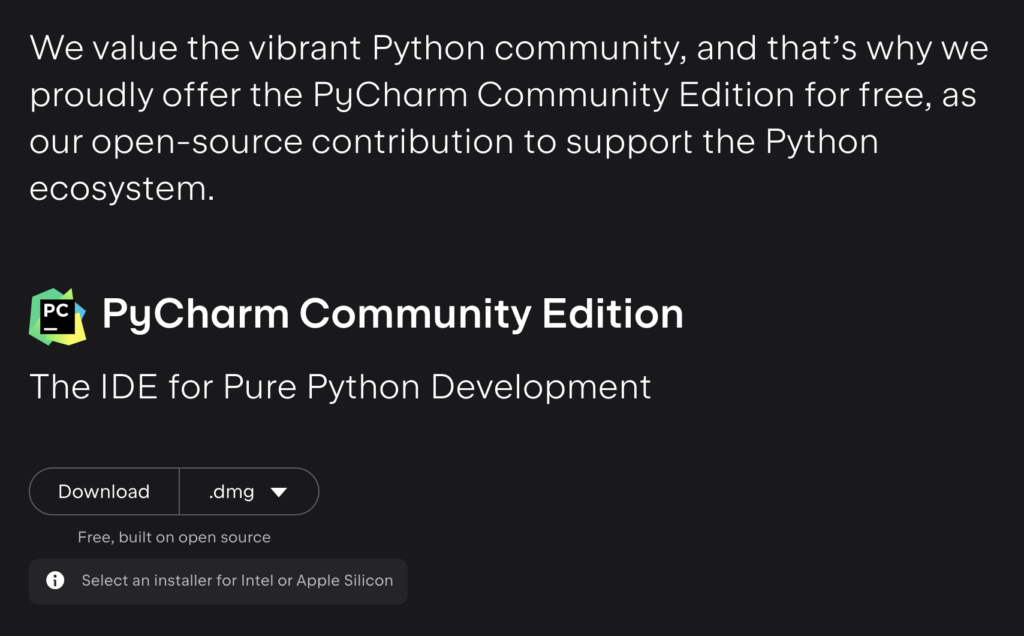
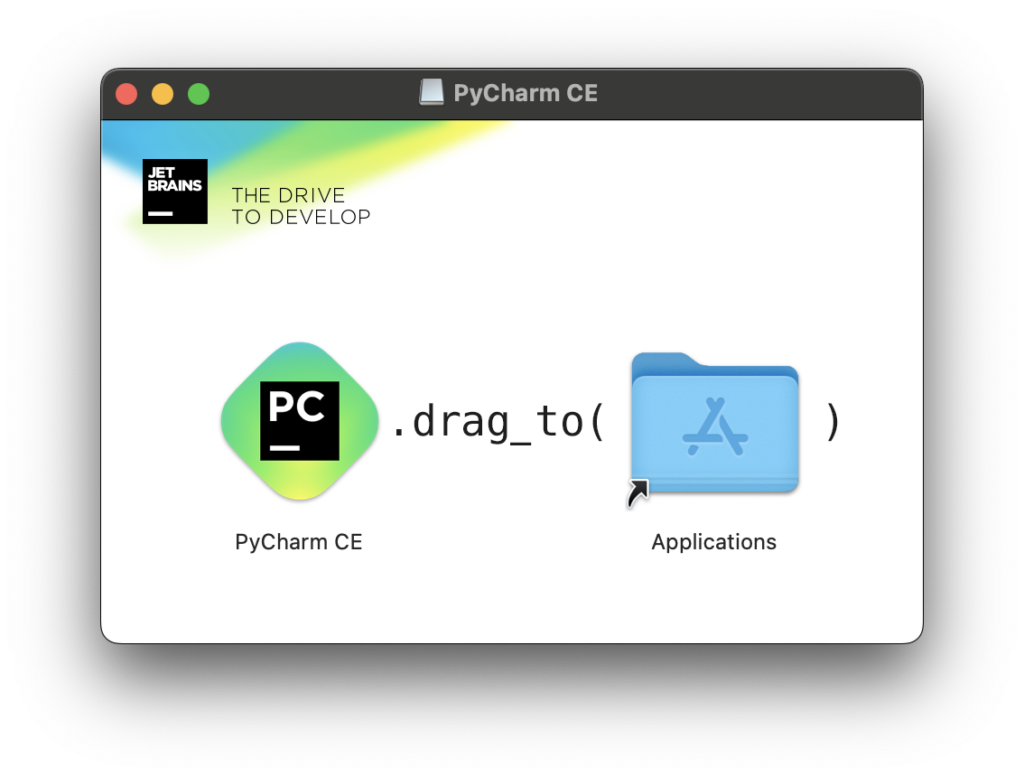
- Install by double-click the PyCharm file.
- Drag and drop the PyCharm CE icon into the Applications folder. Wait for the file copying process to complete.
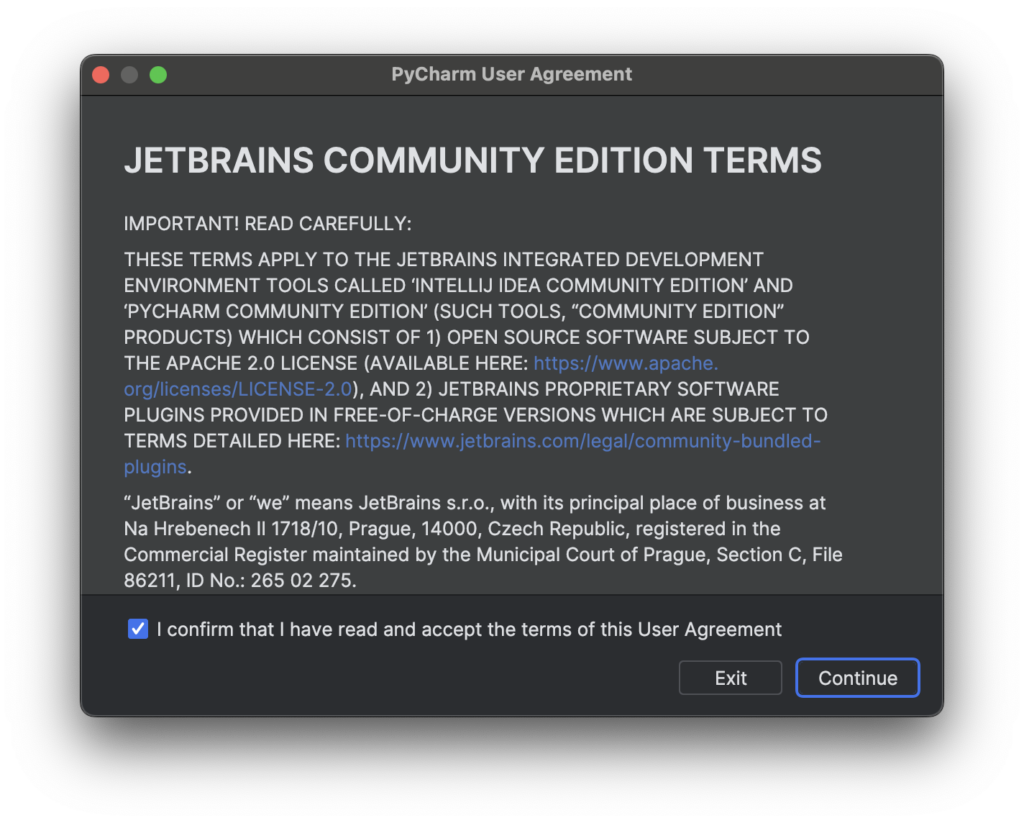
- Open the PyCharm application. You will see the PyCharm user agreement. Just check “I confirm …” and then click Continue.
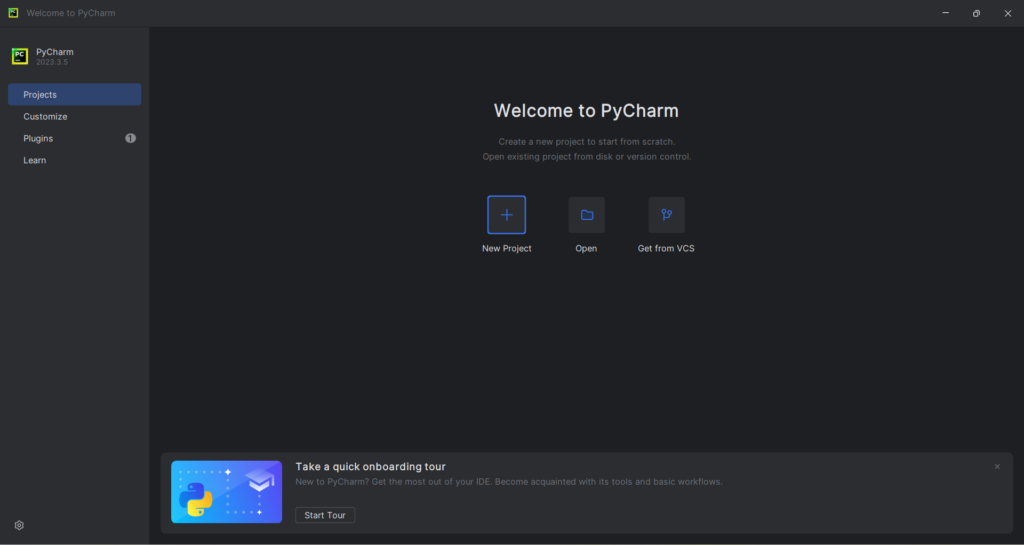
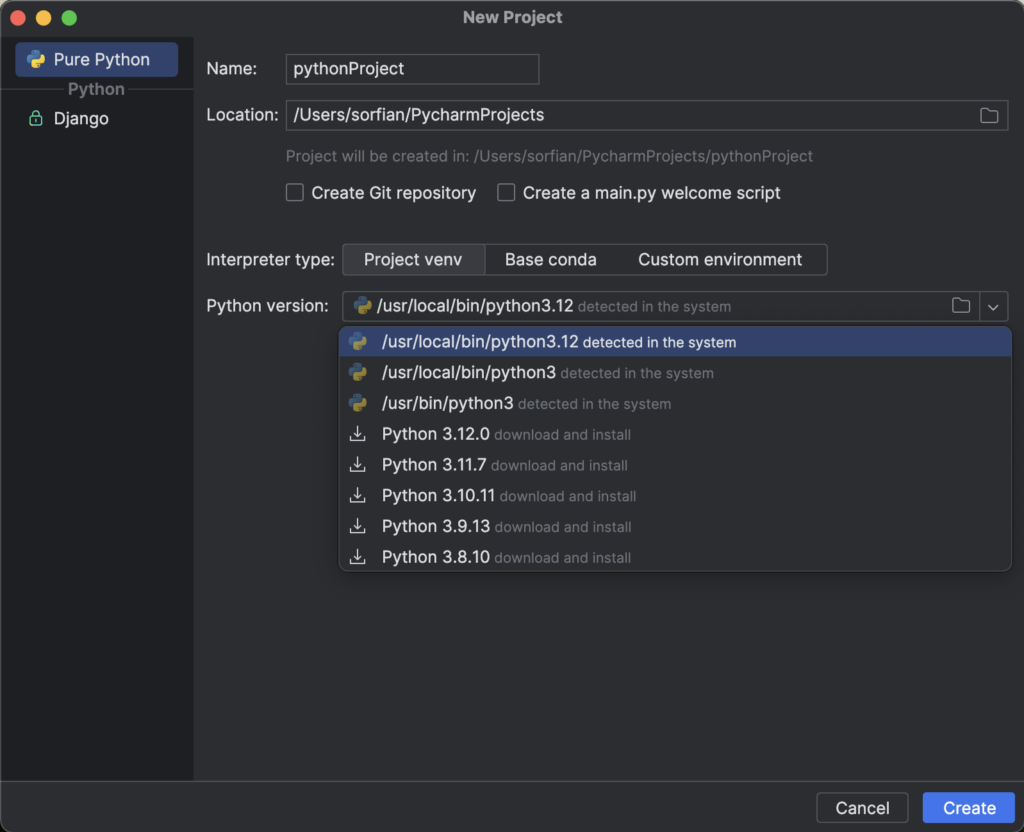
- To start learning Python, click New Project
- In the Name section, you can write the name of your project. Make sure in the Python version section you choose the Python 3.12 version installed on your Mac earlier. Then click Create.
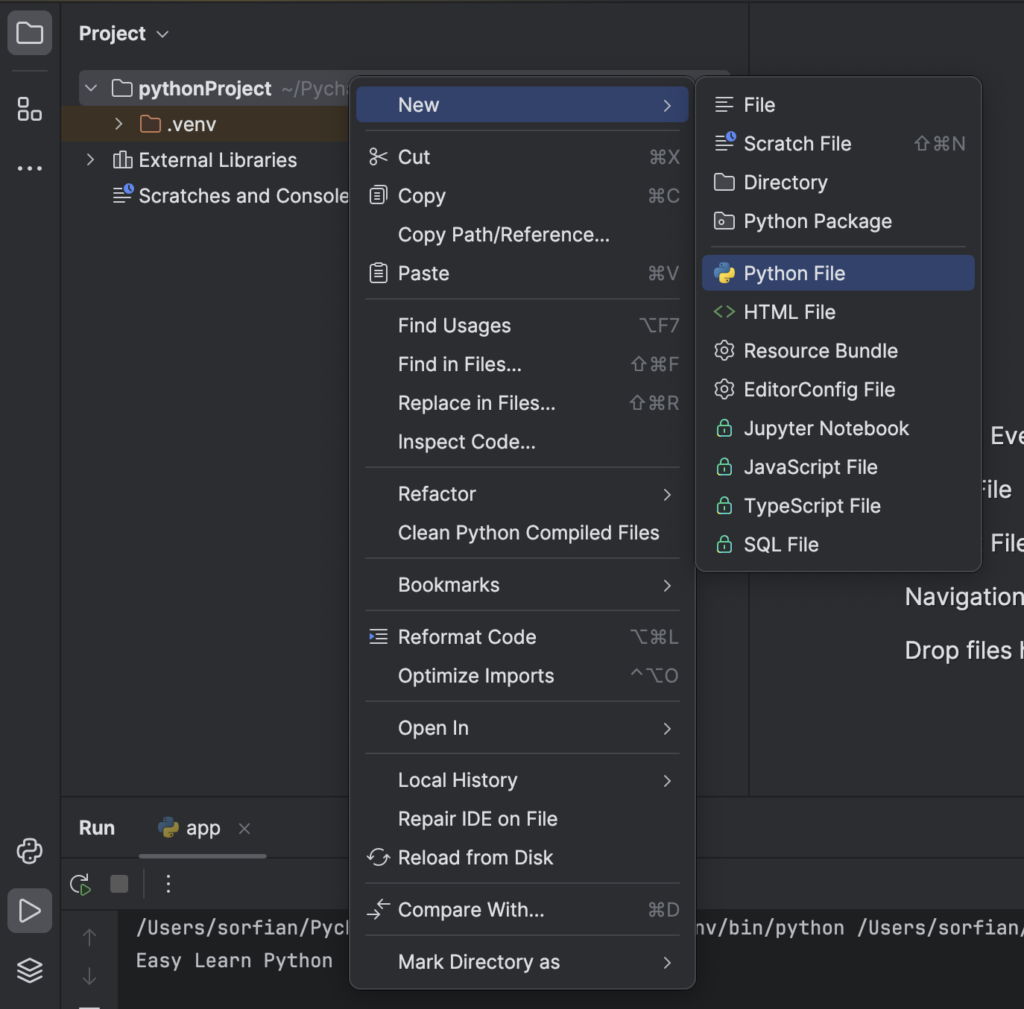
- Once the file indexing process in your project is complete, you can start creating your Python file by right-click on the folder named after your project in the left sidebar of PyCharm. Choose New, then click Python file.
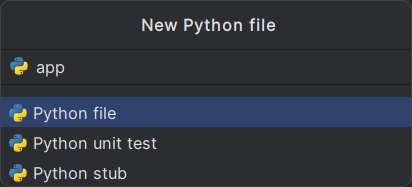
- Write the name of your Python file. For example, app.py.
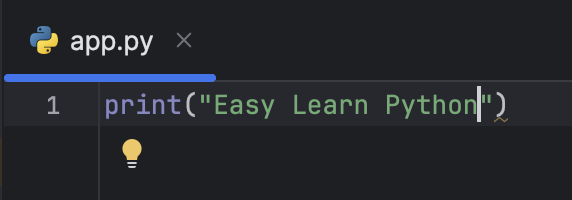
- Try to write a simple Python code, for example,
print("Easy Learn Python").
- On the top right, you will find a triangle button indicating the button to run your Python program. Just click the button.

- You can see the output of your simple Python code in the terminal at the bottom of PyCharm.

Install Visual Studio Code Untuk Python 3.12.2
If you want to use the Visual Studio Code text editor, you can skip the PyCharm installation steps above and follow the Visual Studio Code installation steps below:
- Go to code.visualstudio.com
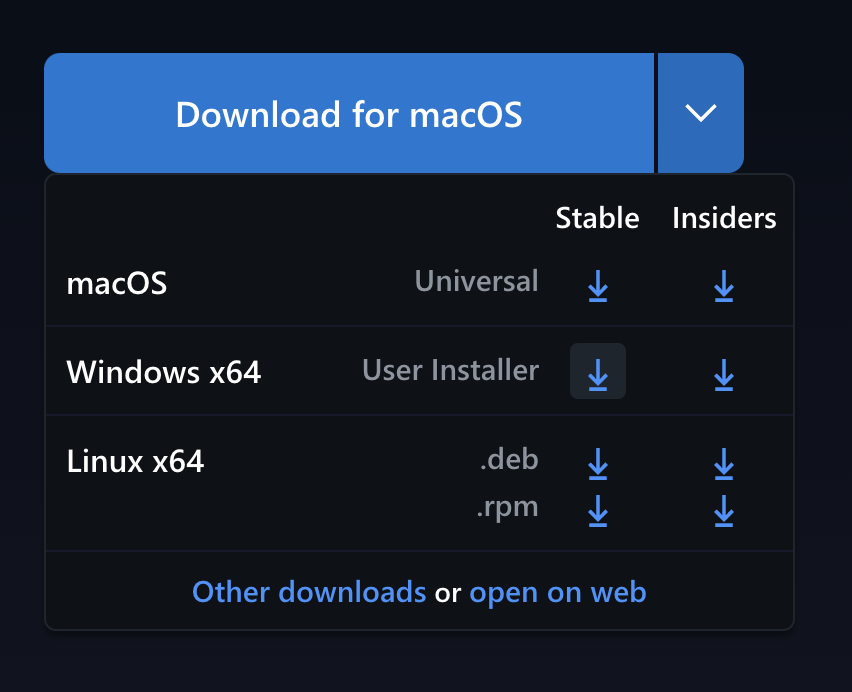
- Click Download for macOS button.
- Install by double-click your Visual Studio Code file.
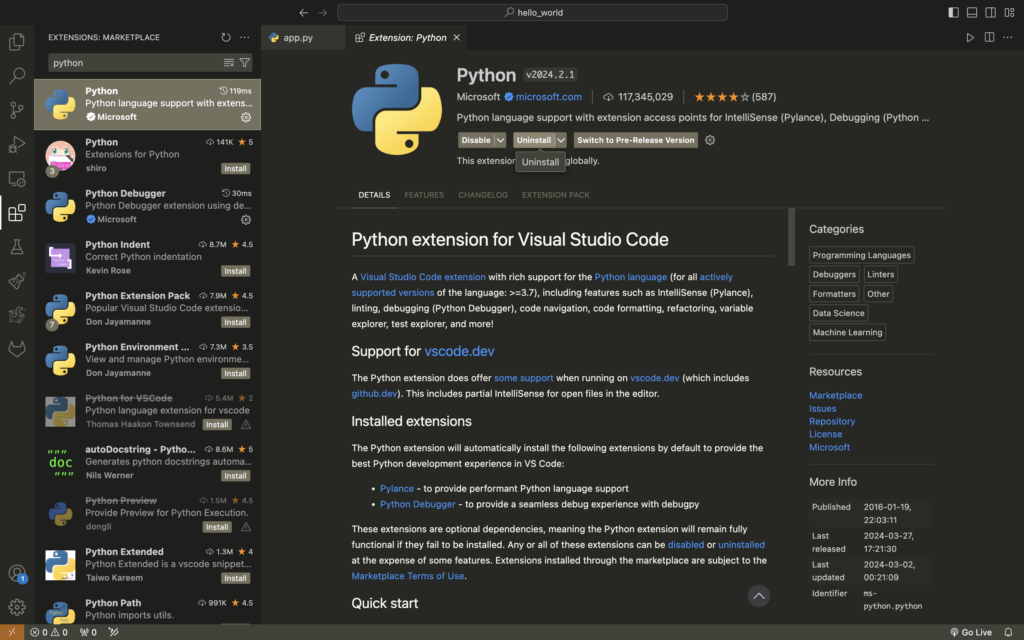
- Once done, open the Visual Studio Code. Go to Extensions in the left sidebar menu of Visual Studio Code. Then type “python” and click install the python extension as shown in the image below.
- Now go back to the Explorer menu on the left sidebar menu. You will see information about the Python version you are using to run your current Python program in Visual Studio Code at the bottom right. Just click on the Python version.

- You will see several Python versions if you have installed Python before. Please choose Python 3.12.2, then your Visual Studio Code will be using the latest Python version currently as the interpreter to run your Python program.

- To start make a Python code, you can create a Python file first by click New File icon in the Explorer on the left side of your Visual Studio Code.

- Name it app.py and write a simple Python code, for example,
print("Easy Learn Python").

- On the top right, you will find a triangle button indicating the button to run your Python program. Click the button or click Run Code.
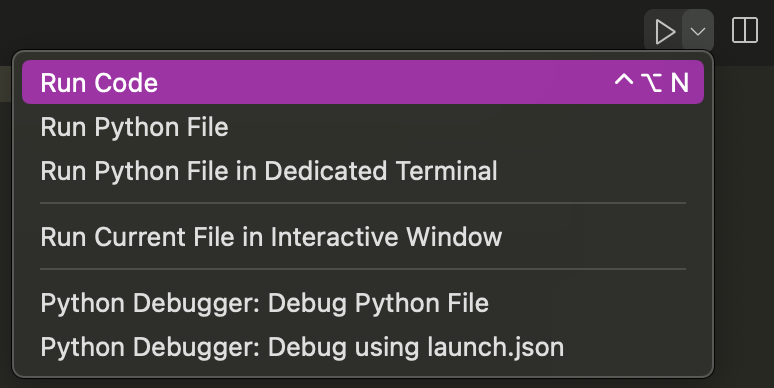
- You can see the output Easy Learn Python from your simple Python code in the terminal at the bottom of Visual Studio Code.

Congratulations, you have successfully installed Python 3.12.2 and a text editor for Python like PyCharm or Visual Studio Code. Now you are ready to learn Python 3, and next, we will learn to create our first Python program.

